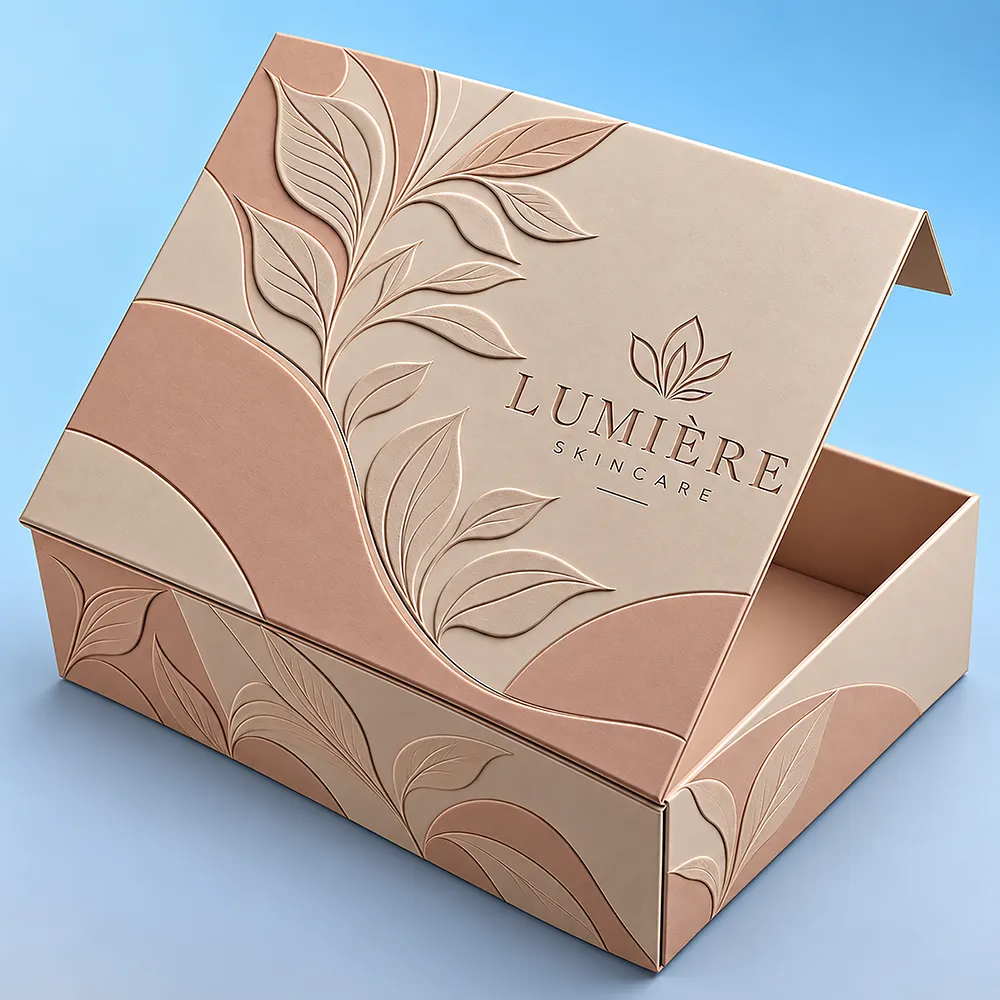
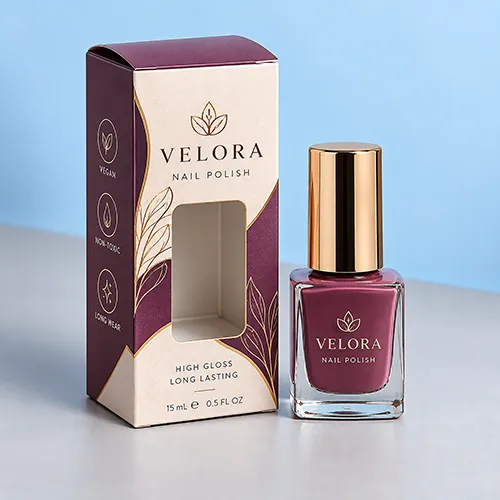
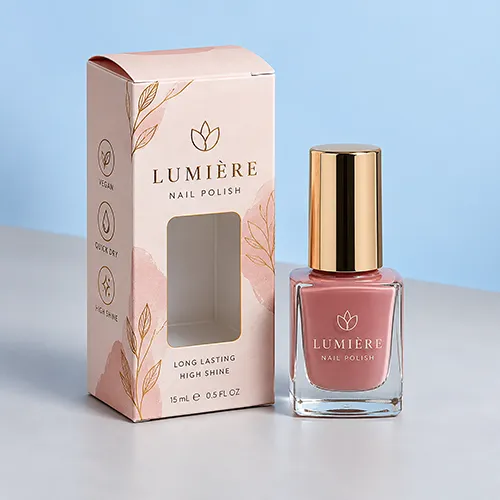
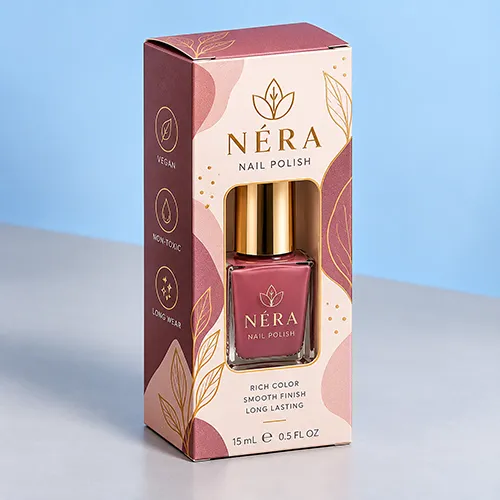
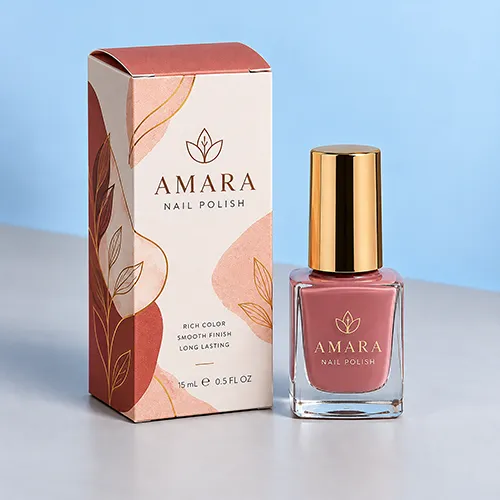
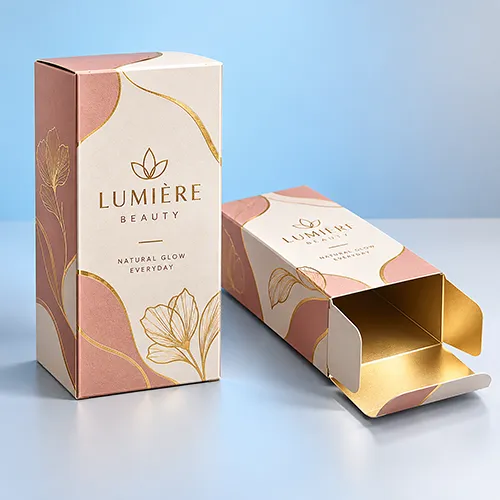
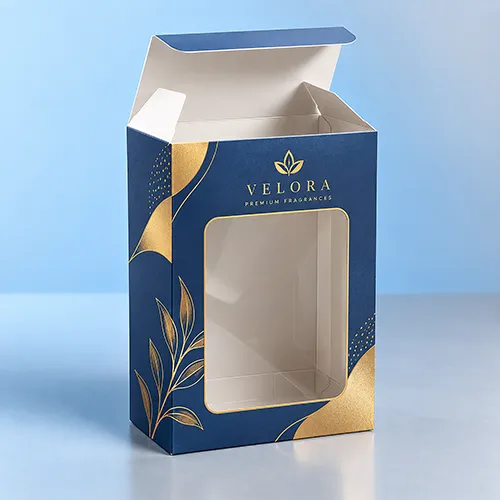
Custom Nail Polish Tuck End Boxes for Bottle Packaging
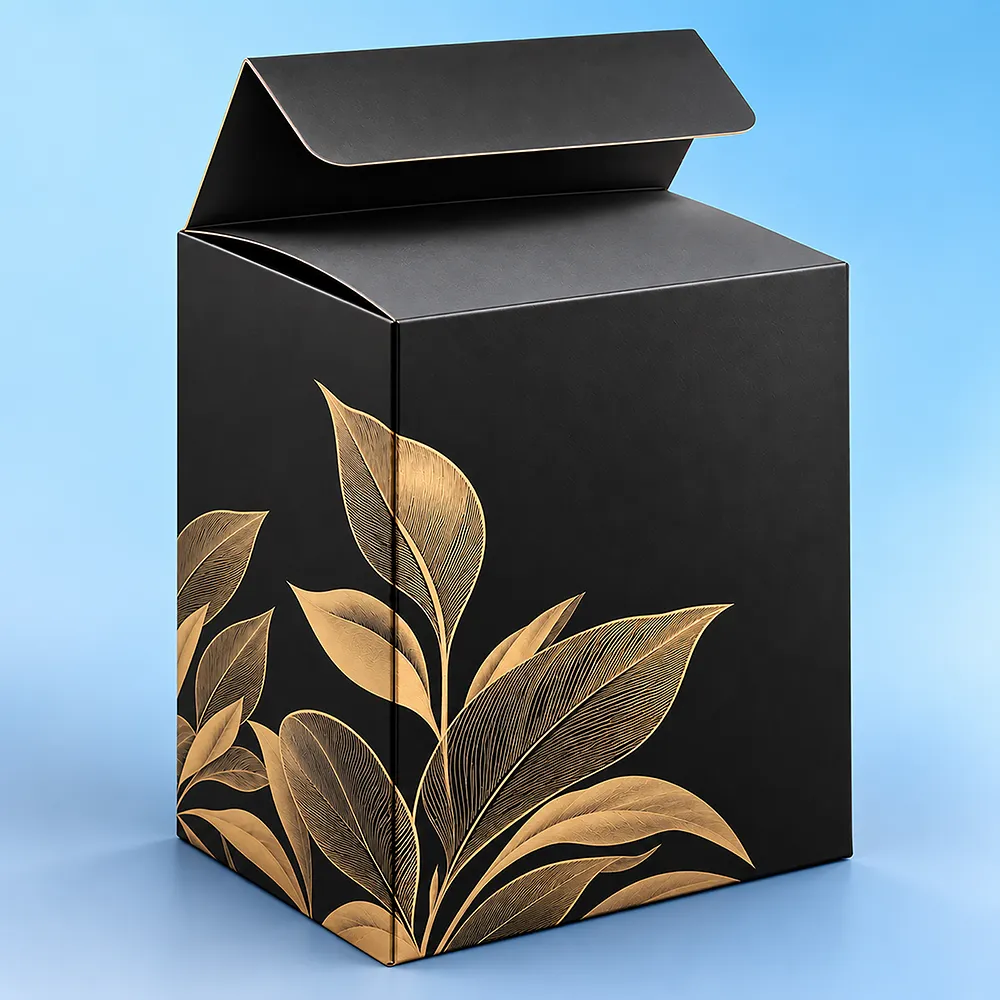
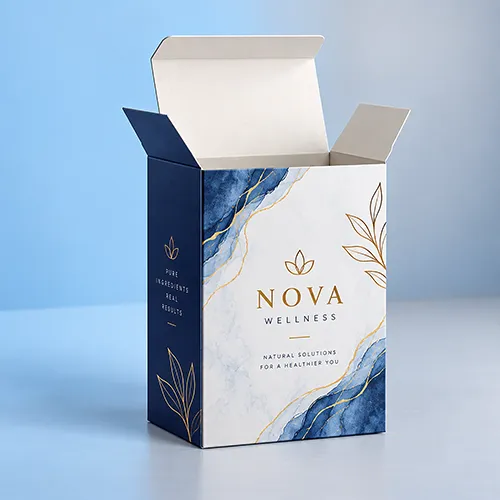
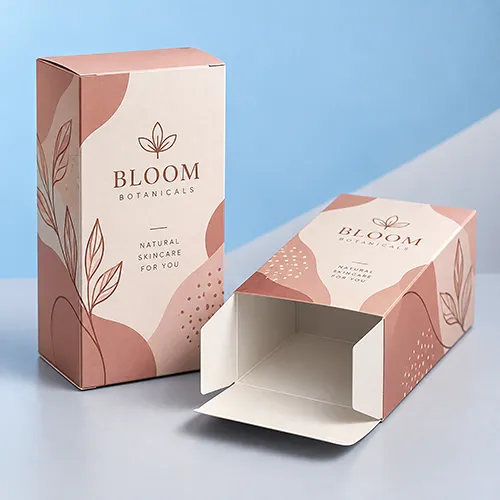
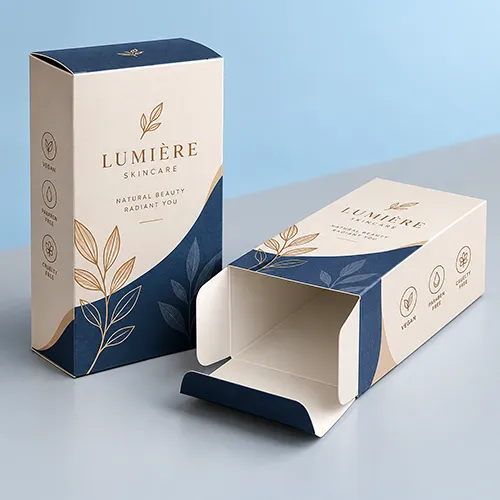
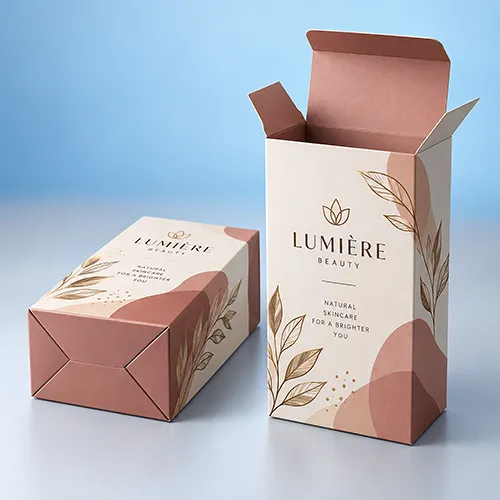
Custom Nail Polish Tuck End Boxes combine a nail-polish bottle application with a Tuck End folding-carton structure.
The defining relationship is:
Nail Polish Tuck End Box → Finished Nail-Polish Bottle + Tuck-End Closure
The bottle determines the required internal fit.
The selected Tuck End configuration determines how the carton loads, opens and closes.
The carton should therefore be developed around the complete finished product rather than only the bottle advertised fluid capacity.
Use:
Finished Nail-Polish Bottle → Maximum Bottle Envelope + Filled Weight → Tuck-End Requirement → Flap Orientation → Internal Fit / Support → Board + Closure Geometry → Dieline → Artwork / Window → Physical Validation → Quote
For the wider structural family, explore Custom Tuck Boxes.
What Is a Nail Polish Tuck End Box?
A Nail Polish Tuck End Box is a folding carton developed around the complete dimensions and profile of a finished nail-polish bottle and closed using an approved Tuck End structure.
The product has two defining requirements:
Bottle-Specific Fit
and:
Tuck-End Closure
The bottle determines the internal space.
The Tuck End configuration determines the structural closure.
This is narrower than the broader Custom Nail Polish Boxes page, which covers several structural directions for nail-polish packaging.
Nail Polish Tuck End Boxes vs Custom Nail Polish Boxes
These pages should serve different buying stages.
Custom Nail Polish Boxes owns the broader structure-selection decision and can cover directions such as folding cartons, locking-bottom cartons, sleeves, window structures, multi-bottle packaging and supported sets.
Nail Polish Tuck End Box owns the narrower decision:
Finished Nail-Polish Bottle → Tuck-End Folding Carton
Use the broader Nail Polish Boxes page when the structural format is still undecided.
Use this page when a compact Tuck End folding carton is already the likely packaging direction.
Nail Polish Tuck End Boxes Are Not Press-On Nail Boxes
Nail-polish bottles and press-on nail products use different packaging measurement entities.
A nail-polish carton is developed around:
Finished Bottle + Cap + Shoulders + Base + Filled Weight
Press-on nail packaging is usually developed around:
Tray + Nails + Decorations + Accessories
Do not apply bottle-sizing logic to tray-based nail products.
For artificial nails, nail tips and application kits, explore Custom Nail Packaging Boxes.
Fluid Capacity Does Not Determine Nail Polish Box Size
A specification such as:
5 ml
10 ml
15 ml
or:
0.5 oz
describes how much formula the bottle contains.
It does not establish the outside dimensions of the finished bottle.
Use:
Fluid Capacity ≠ Finished Bottle Dimensions ≠ Carton Dimensions
Two bottles containing the same volume can use completely different:
-
glass bodies;
-
shoulders;
-
collars;
-
bases;
-
caps;
-
and decorative profiles.
For the detailed measurement process and bottle-format examples, review BoxBaba Nail Polish Box Size Guide.
Measure the Complete Filled and Closed Bottle
Use the finished sale-ready bottle as the measurement entity.
For square, rectangular, oval or irregular bottles, record:
Maximum Width × Maximum Depth × Complete Closed Height
For a genuinely round bottle, record:
Maximum Diameter × Complete Closed Height
Then compare the widest points of the:
Body → Shoulders → Collar → Installed Cap → Permanent Decoration
The feature extending furthest can become the controlling dimension.
Include the Installed Cap
Do not measure only the glass body.
Use:
Glass Body Height ≠ Complete Closed Bottle Height
Measure from the lowest point of the base to the highest point of the fully installed cap or permanent decorative closure.
A tall cap can determine carton height.
A wide or flared cap can also become the controlling width or depth.
The carton should be developed around the closed sellable product.
Shoulder and Collar Profiles Matter
The main glass body is not always the widest component.
Some nail-polish bottles broaden through the shoulders before narrowing toward the neck.
Others use collars or decorative pieces that extend beyond the central bottle wall.
Use:
Maximum Exterior Profile → Controls Internal Fit Requirement
If the shoulders exceed the body width, the shoulder dimension becomes the relevant fit input.
Maximum Bottle Profile vs Base Footprint
These measurements answer different packaging questions.
Maximum Bottle Envelope → Determines Required Fit
while:
Base Footprint → Supports Orientation / Stability Review
A decorative bottle can have broad shoulders and a much narrower standing base.
The maximum envelope controls whether the bottle can fit through and inside the carton.
The base footprint helps evaluate how the bottle stands and whether extra support may be useful.
Bottle Shape Changes the Measurement Method
Square Bottles
Record maximum width and maximum depth separately.
Do not assume both are identical simply because the front profile appears square.
Rectangular Bottles
Measure both the front-facing width and front-to-back depth.
A narrow front panel can hide a deeper side profile.
Round Bottles
Measure the maximum diameter and complete closed height, then compare the cap, collar and shoulders with the body diameter.
Oval Bottles
Record separate maximum width and depth values.
One diameter cannot accurately describe both horizontal axes.
Tapered or Decorative Bottles
Measure the furthest finished exterior point rather than relying on the center body or base alone.
Which Tuck End Structure Should You Choose?
Nail Polish Tuck End Box describes the application and closure family.
It does not automatically prescribe one flap orientation.
Two common configurations are:
Straight Tuck End → Primary Top and Bottom Tuck Flaps Close in the Same General Direction
and:
Reverse Tuck End → Primary Tuck Closures Use Opposing Orientation
Select between them according to:
Bottle + Loading Direction + Panel Layout + Artwork + Packing Workflow
For same-direction flap orientation, review Straight Tuck End Boxes.
Where opposing closure orientation better suits the project, compare Reverse Tuck Boxes.
Neither should be described as universally stronger, safer or better.
How to Size a Nail Polish Tuck End Box
Provide the complete finished bottle measurements:
-
maximum width;
-
maximum depth or diameter;
-
complete closed height;
-
maximum shoulder width;
-
collar profile where relevant;
-
maximum cap width or diameter;
-
cap height;
-
base footprint;
-
permanent decorative projections;
-
filled weight;
-
and intended packed orientation.
Do not assume:
Finished Bottle Dimensions = Finished Box Dimensions
The carton also needs to account for:
Use:
Finished Bottle → Required Internal Space → Tuck-End Geometry → Complete Dieline
How Much Clearance Does a Nail Polish Bottle Need?
There is no universal clearance number for every bottle and carton.
Too little clearance can make the bottle difficult to load or remove.
Too much clearance can create unnecessary movement.
The correct fit depends on:
Bottle Geometry + Board + Tuck Structure + Internal Support + Packing Method + Removal Direction
A simple square bottle and an irregular tapered bottle should not automatically receive the same allowance.
For close-fitting bottle cartons, a physical sample is more useful than applying one arbitrary clearance figure across all projects.
Filled Weight Matters Even When Dimensions Are Similar
Two nail-polish bottles can have almost identical outside dimensions while differing in:
Use:
Similar Dimensions + Different Filled Weight → Structural / Support Review
A heavier bottle does not automatically need a larger carton.
It means the selected board, closure and any internal support should be reviewed around the actual packed product.
Does Every Glass Nail Polish Bottle Need an Insert?
No.
A regularly shaped bottle can often fit directly inside an appropriately developed folding carton.
Additional internal support becomes more relevant where the project includes:
-
a heavier glass bottle;
-
narrow or unstable standing base;
-
tall or heavy cap;
-
irregular bottle profile;
-
window-dependent positioning;
-
multiple products;
-
or another defined retention requirement.
Use:
Bottle Configuration → Required Internal Function → Direct Fit / Support Decision
rather than:
Glass Bottle → Automatically Requires Insert
For a deeper buyer-decision framework, review When Do Cosmetic Boxes Need Inserts?.
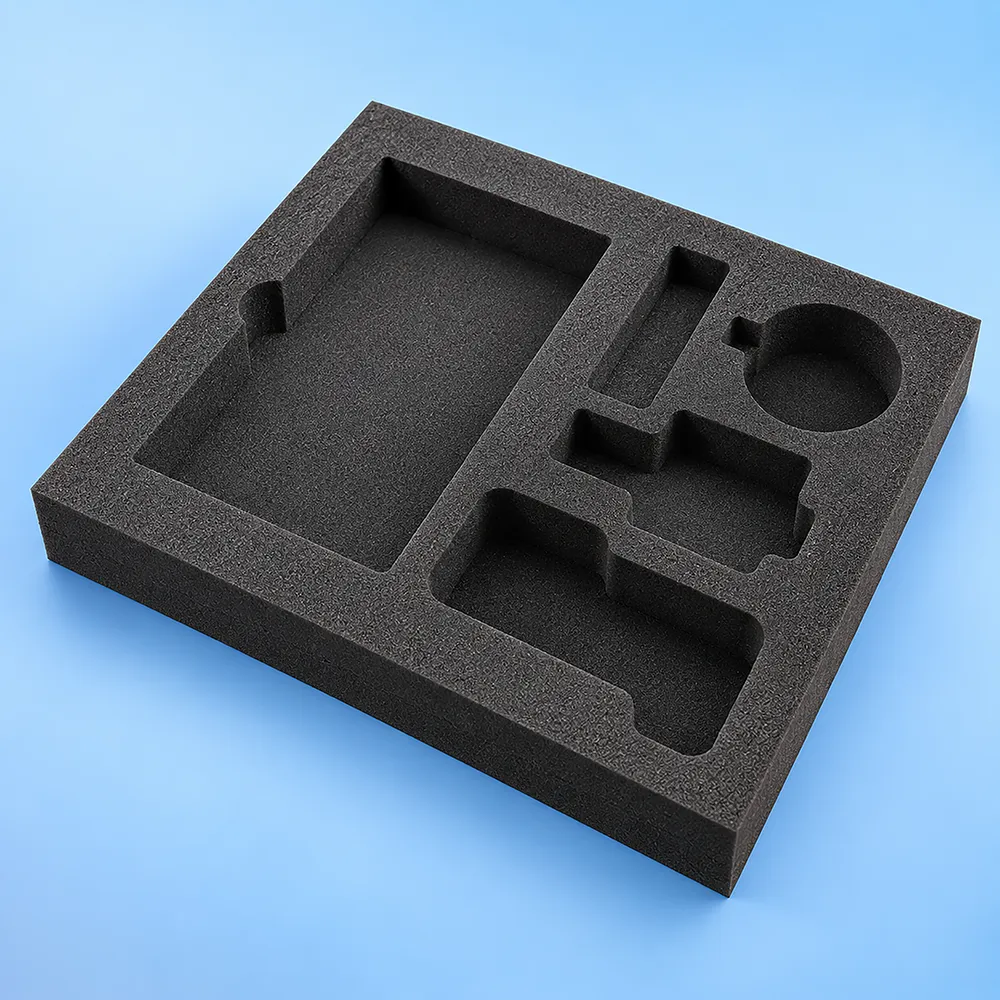
Plan Bottle Support Around Stable Contact Areas
Where internal support is used, it should be developed around suitable product contact areas.
Do not automatically support the filled bottle through a decorative cap or fragile shoulder profile.
Possible support areas can include the:
Use:
Finished Bottle → Suitable Contact Area → Support Geometry
The product should still remain practical to load and remove.
Tall Caps and Decorative Closures
Tall, tapered, metallic or decorative caps can change:
A tall cap does not automatically require a different box family.
It means the carton should be developed around the complete assembled product, not just the glass bottle.
Use:
Bottle + Installed Cap → Complete Packaging Entity
Mini Nail Polish Bottles Need Independent Measurements
A mini bottle should not be treated as a simple scaled-down version of a larger bottle.
A smaller-capacity bottle can still use:
Use:
Smaller Fluid Capacity ≠ Proportionally Smaller Bottle Geometry
Measure the actual finished mini bottle independently.
Can Several Nail Polish Shades Share One Dieline?
Often, yes.
If several shades use the same:
-
bottle;
-
cap;
-
shoulders;
-
base;
-
carton dimensions;
-
orientation;
-
Tuck structure;
-
internal support;
-
and window position,
one structural dieline can potentially support multiple approved artwork versions.
Use:
Same Physical Packaging + Different Shade Artwork → Shared Structural Dieline May Be Possible
However:
Different Bottle Geometry → Structural Review
A change from a square bottle to a round, mini or tall-cap bottle can require a different carton even when fluid capacity remains the same.
Nail Polish Tuck End Boxes With Windows
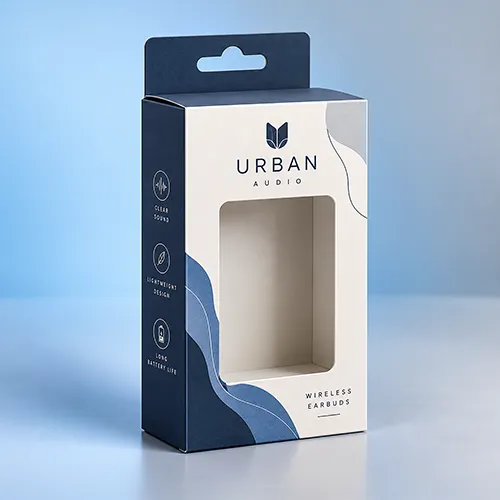
A die-cut opening can reveal the bottle, shade or label area where sufficient panel area remains.
Plan the window as:
Bottle Orientation → Visible Product Area → Window Geometry → Remaining Structural Panel Area
Coordinate the window with:
-
shoulder position;
-
cap position;
-
bottle label;
-
tuck flaps;
-
folds and scores;
-
internal support;
-
and artwork.
Do not finalize the window until bottle orientation is confirmed.
For broader viewing-window packaging, explore Boxes With Window.
Printing Options for Nail Polish Tuck End Boxes
Custom printing can be developed across the front, back and side panels of the approved carton.
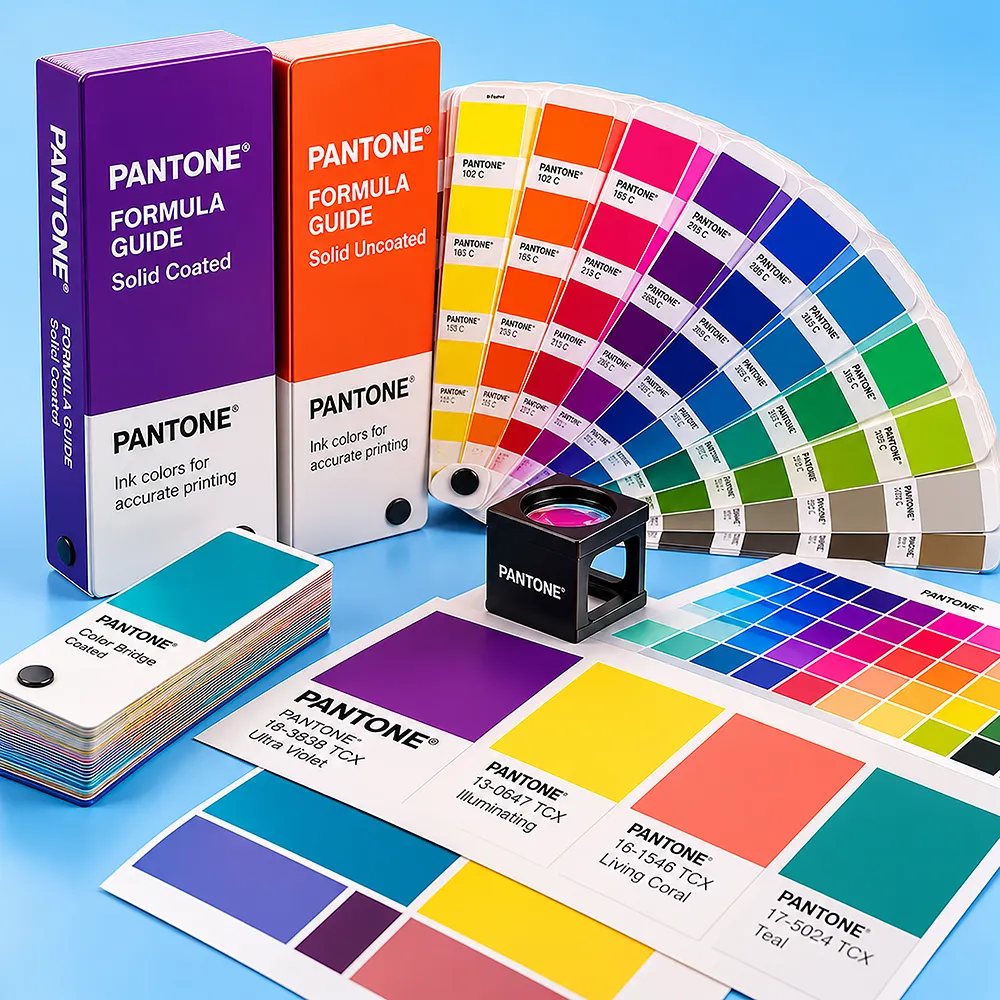
Depending on the production setup, printing may include digital or offset methods with CMYK process color and Pantone/PMS references where applicable.
Keep the terminology separate:
Digital / Offset = Printing Methods
CMYK / Pantone = Color Systems / References
Buyer-approved artwork can include:
-
brand logo;
-
product name;
-
shade name or number;
-
product information;
-
ingredient or usage information;
-
barcode;
-
SKU;
-
QR code;
-
warnings or instructions;
-
and business information.
The buyer remains responsible for final product claims, ingredient, regulatory and market-specific labeling review before printing.
Inside printing can also be considered where the selected board and production process support it.
Planning Multiple Shade SKUs
A nail-polish range may use many artwork versions on one physical bottle and carton.
If the structural packaging remains unchanged, the following can vary by SKU:
Use:
Shared Physical Structure → Multiple Artwork Versions
Provide the production quantity required for each version when requesting a quote.
Finishing Options for Nail Polish Tuck End Boxes
Printing and finishing should remain separate production decisions.
Compatible project-specific finishes may include:
-
matte lamination;
-
gloss lamination;
-
soft-touch treatment;
-
foil stamping;
-
embossing;
-
debossing;
-
and Spot UV.
Finish placement should account for:
Tuck Flaps + Scores + Folds + Artwork + Barcode Areas
Avoid placing heavy raised treatments directly over critical folds or functional tuck areas without production review.
Foil and Spot UV for Nail Polish Packaging
Foil or Spot UV can selectively emphasize artwork such as:
-
the brand logo;
-
product name;
-
collection name;
-
borders;
-
or decorative details.
Use:
Artwork Hierarchy → Finish Placement
rather than adding effects simply because panel space is available.
Where foil-enhanced Tuck packaging itself is the primary requirement, compare Tuck End Foil Boxes.
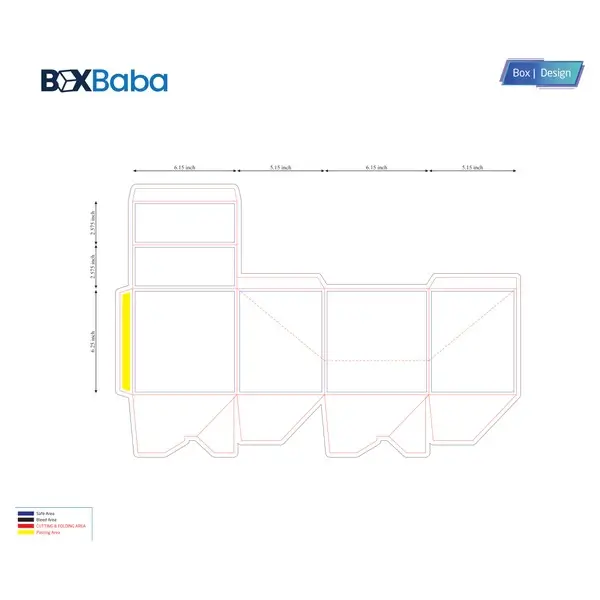
Nail Polish Tuck End Box Dielines
The structural dieline maps how the flat board becomes the completed carton around the bottle.
Depending on the selected configuration, it can include:
-
front panel;
-
back panel;
-
side panels;
-
top tuck flap;
-
bottom closure;
-
dust flaps;
-
glue tab;
-
folds and score lines;
-
support relationship;
-
window geometry;
-
and artwork boundaries.
Use:
Finished Bottle → Tuck Orientation → Board → Complete Dieline → Artwork
Do not substitute a generic cosmetic carton dieline without confirming the actual bottle and cap geometry.
For deeper production-file guidance, review BoxBaba Packaging Dieline Guide.
What Should Be Validated Before Production?
Use the proofing method that matches the unresolved question.
A digital proof or 3D mockup can help review:
artwork + panel orientation + text + window location + finish placement
A physical structural sample is more useful for:
bottle fit + cap clearance + loading + removal + tuck engagement + support position + window alignment
Use:
Artwork Question → Digital Proof
and:
Physical Bottle / Structure Question → Representative Sample
A digital mockup cannot prove whether the actual bottle fits and removes comfortably.
Check Both Bottle Insertion and Removal
Do not validate fit only by checking whether the bottle can be pushed into the carton.
A package can be easy to load but difficult for the customer to open.
Review:
Bottle Insertion + Bottle Removal + Cap Clearance + Shoulder Clearance
The product should not require excessive force to load or remove.
This becomes especially important for:
Secondary Carton vs Primary Nail Polish Container
The nail-polish bottle remains the primary container.
The Tuck End carton is secondary packaging.
Therefore:
Tuck End Carton ≠ Leakproof Primary Container
and:
Tuck End Carton ≠ Chemical-Resistance Guarantee
The carton does not determine the performance of the:
-
bottle;
-
cap;
-
threads;
-
brush;
-
wiper;
-
seal;
-
formula;
-
or filling process.
Those primary-container requirements should be evaluated separately.
Nail Polish Tuck End Box vs Ecommerce Shipping Packaging
Retail packaging and parcel packaging perform different functions.
For retail:
Finished Bottle → Nail Polish Tuck End Carton
For distribution:
Completed Retail Carton / Order → Outer Shipping Package
A standard paperboard Tuck End carton should not automatically be treated as parcel-qualified.
Where courier or ecommerce protection is required, consider an appropriate Mailer Boxes or another suitable outer shipping structure.
What to Send for A Nail Polish Tuck End Box Quote
| Quote Input |
Why It Matters |
| Maximum bottle width |
Defines one internal axis |
| Maximum bottle depth / diameter |
Defines the second internal axis |
| Complete closed height |
Defines carton height requirement |
| Shoulder / collar profile |
May exceed the central body |
| Cap width / diameter |
Can control carton footprint |
| Cap height |
Contributes to complete bottle height |
| Base footprint |
Helps evaluate orientation and support |
| Filled product weight |
Supports board / structural review |
| Bottle shape |
Influences fit and measurement method |
| Bottle orientation |
Defines packed layout |
| Tuck orientation |
Defines Straight, Reverse or another approved configuration |
| Internal support requirement |
Changes usable internal dimensions |
| Window requirement |
Changes available panel geometry |
| Number of shades / SKUs |
Defines artwork-version planning |
| Printing requirements |
Defines artwork scope |
| Finishing requirements |
Affects production specification |
| Order quantity by SKU |
Supports production planning |
| Artwork status |
Determines dieline / artwork support |
| Delivery destination |
Supports shipping planning |
If the final carton dimensions are not yet known, send the completed nail-polish bottle measurements rather than estimating an outside box size.
Custom Nail Polish Tuck End Boxes Wholesale From BoxBaba
BoxBaba develops Nail Polish Tuck End Boxes around the actual finished bottle, selected Tuck orientation and approved board rather than one assumed 5 ml, 10 ml, 15 ml or 0.5 oz carton size.
Custom packaging projects can start from 100 units.
Artwork and dieline support are available, along with digital proof or 3D mockup review. Ask about physical sample options where bottle fit, cap clearance, support alignment, window position or tuck engagement should be checked before bulk production.
Standard processing is typically 5–9 business days after final artwork approval, depending on the selected structure, board, printing, finishing and support requirements.
Free shipping is available across the USA.
Request Custom Nail Polish Tuck End Boxes
A Nail Polish Tuck End carton should be developed from the complete finished bottle, not from fluid capacity alone.
Use:
Finished Nail-Polish Bottle → Maximum Bottle Envelope + Filled Weight → Tuck-End Requirement → Flap Orientation → Internal Fit / Support → Board + Closure Geometry → Dieline → Artwork / Window → Physical Validation → Production
Share the maximum bottle width, depth or diameter, complete closed height, shoulder and cap profile, base footprint, filled weight, bottle orientation, required quantity by SKU, artwork status and any internal-support, window, inside-printing or finishing requirements.
For the full bottle-measurement workflow before requesting the carton, use BoxBaba Nail Polish Box Size Guide.
Place your order by calling +1 305 574 4357 or emailing sales@boxbaba.com.