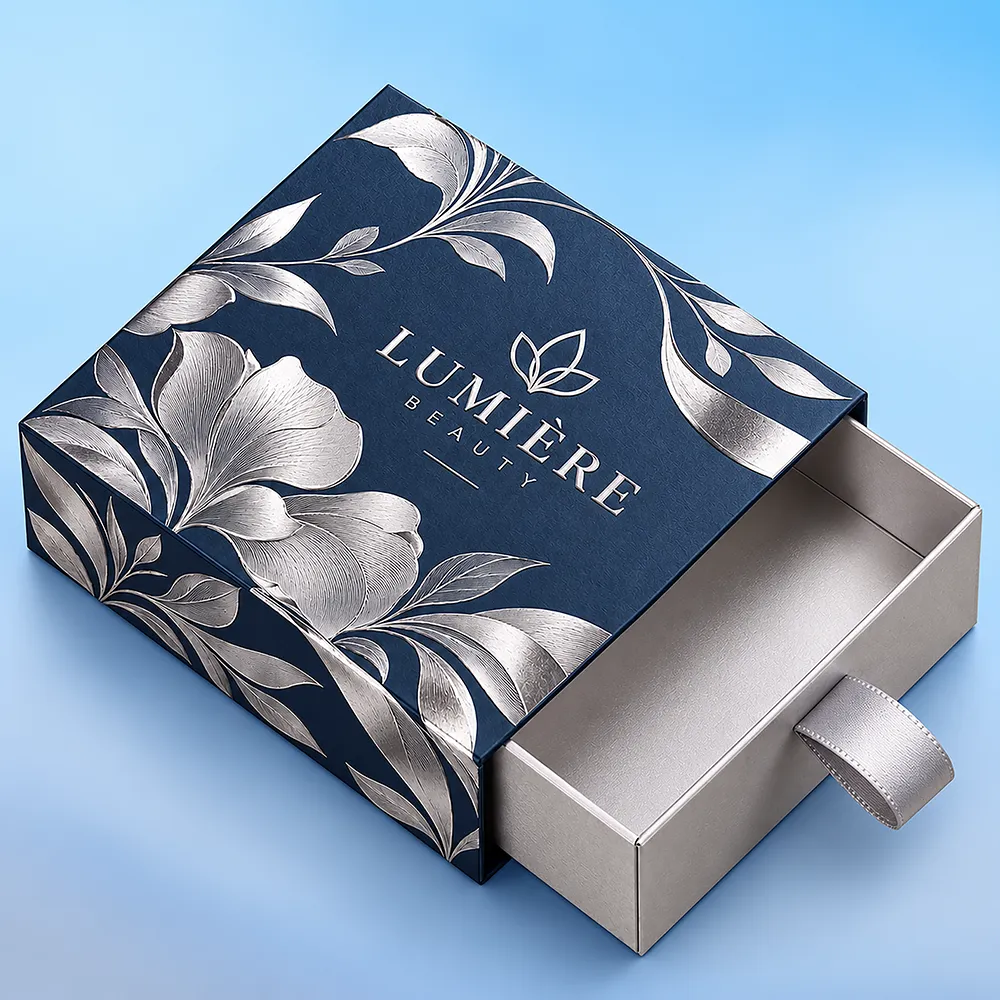
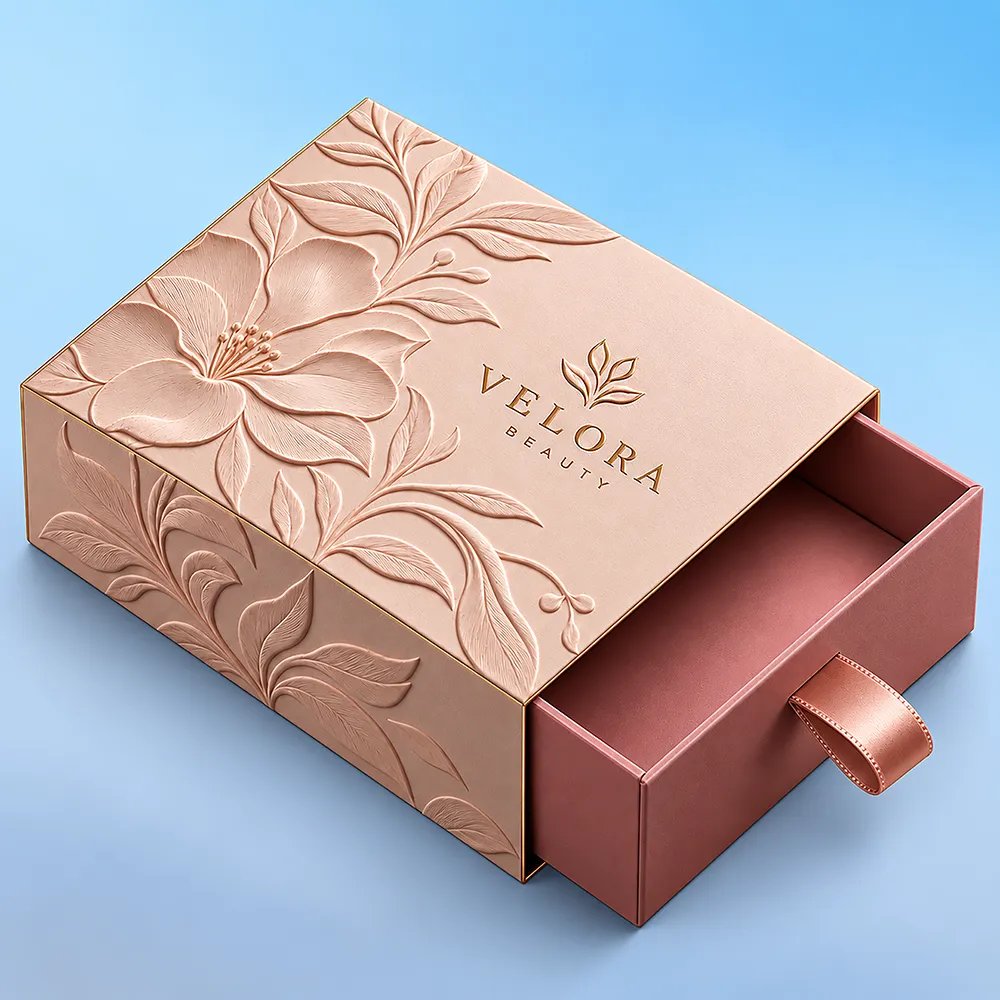
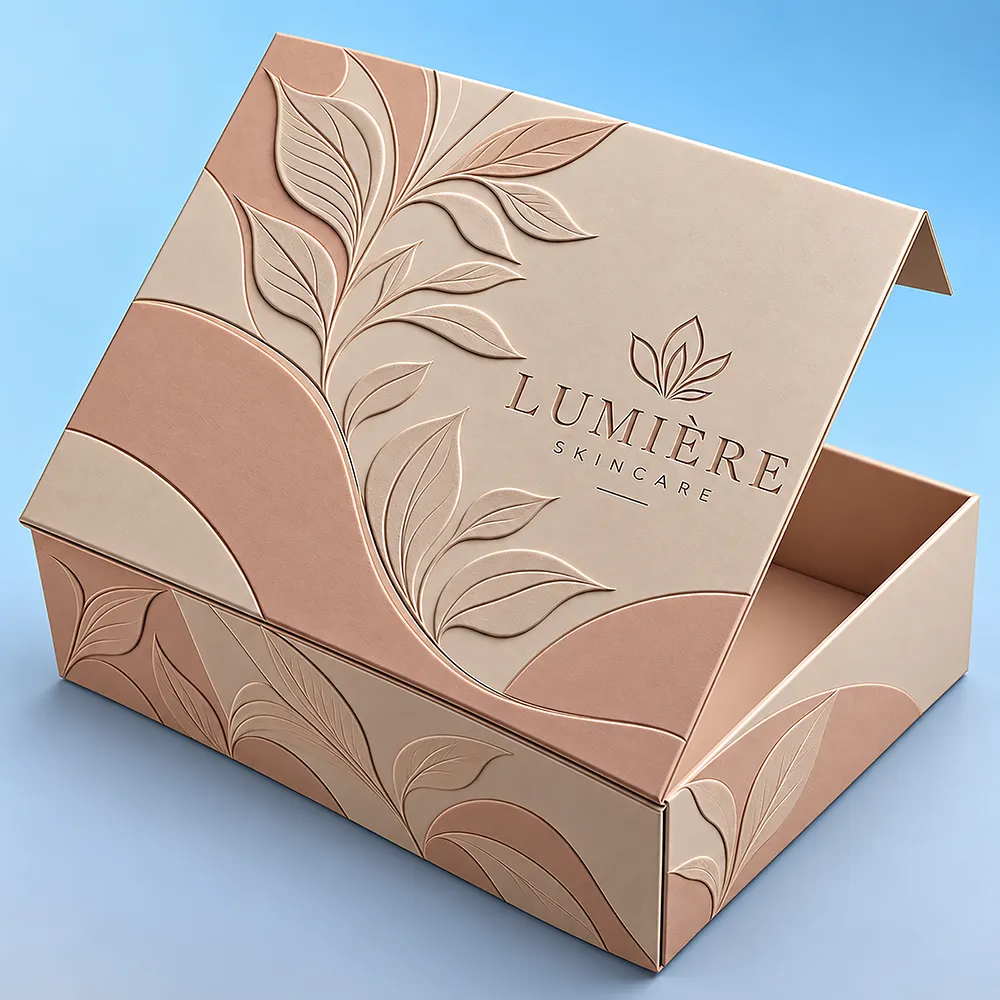
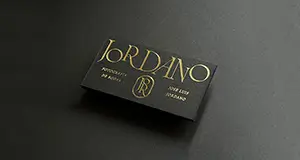
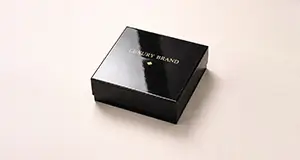
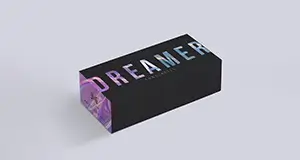
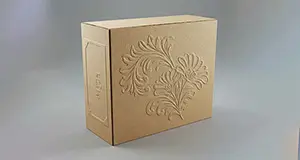
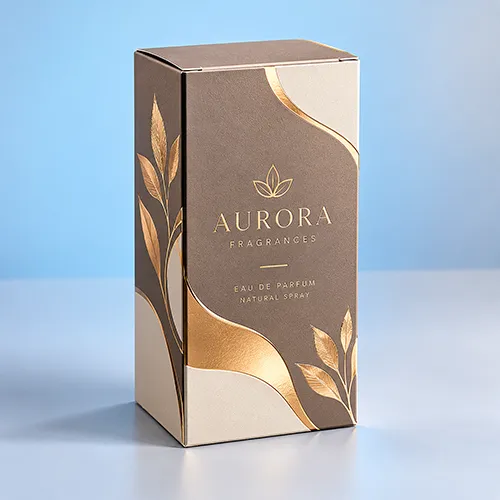
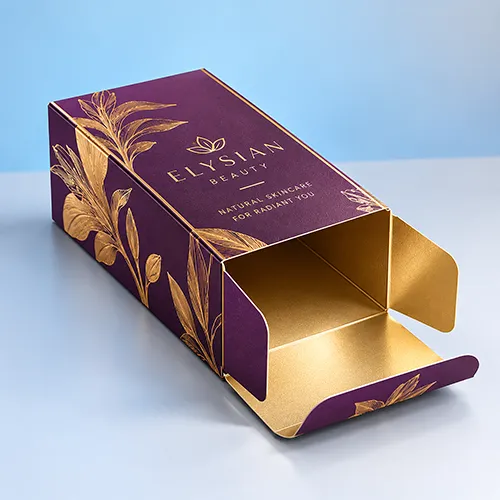
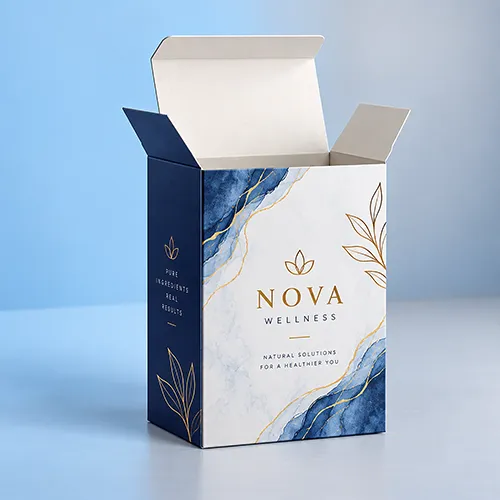
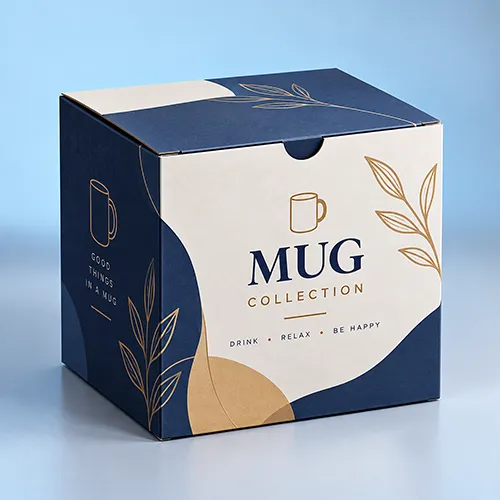
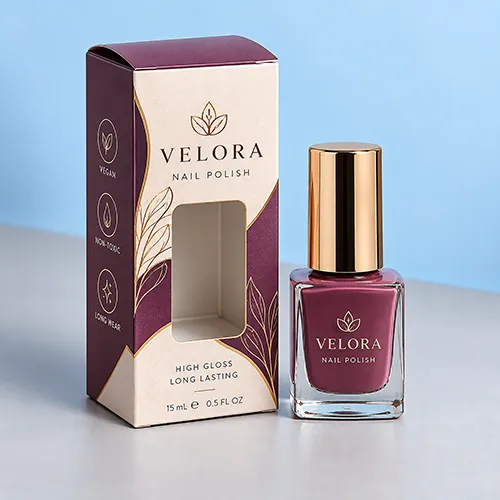
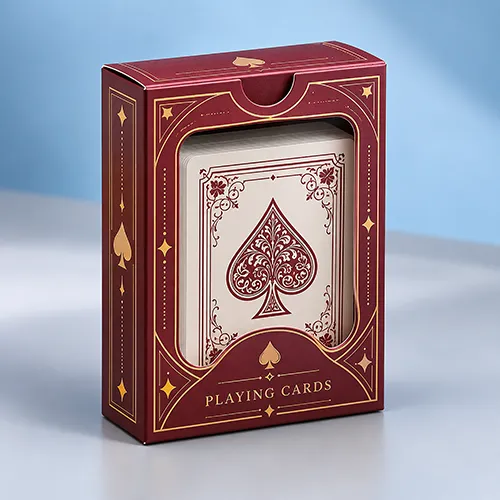
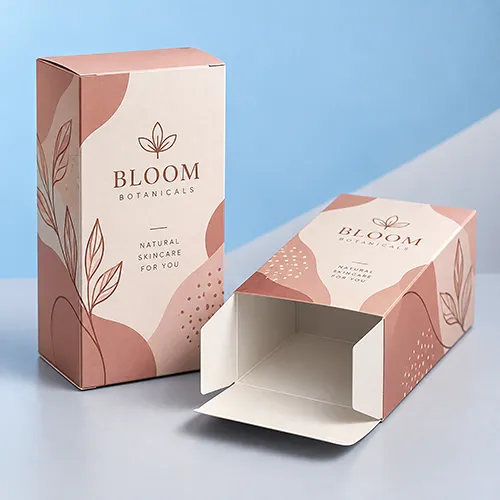
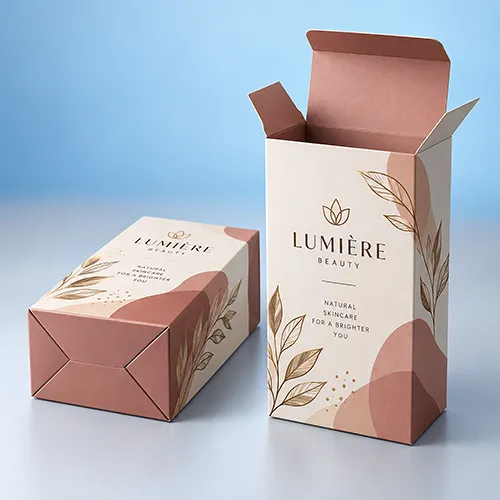
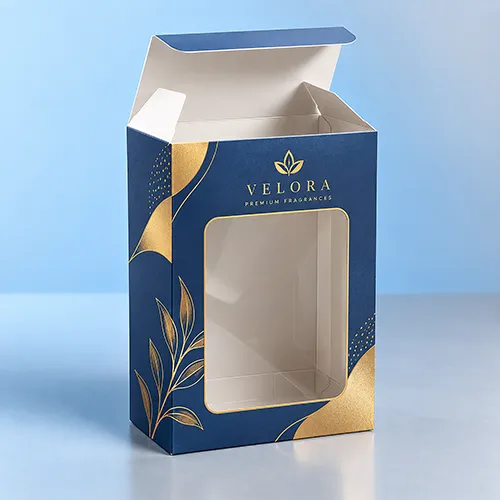
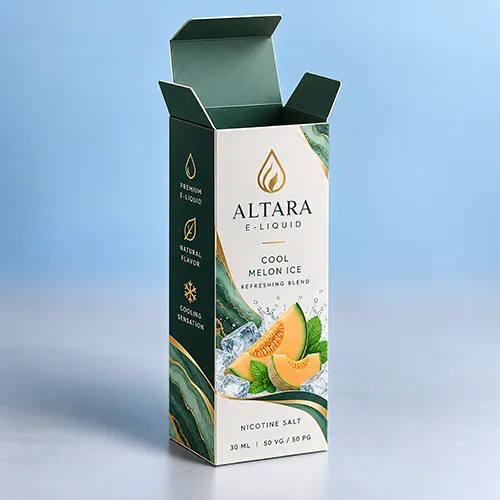
Custom Tuck End Foil Boxes for Retail Product Packaging
Custom Tuck End Foil Boxes combine two separate packaging decisions:
Tuck-End Folding-Carton Structure + Selective Foil Enhancement
The Tuck End structure controls the opening, closing and loading relationship.
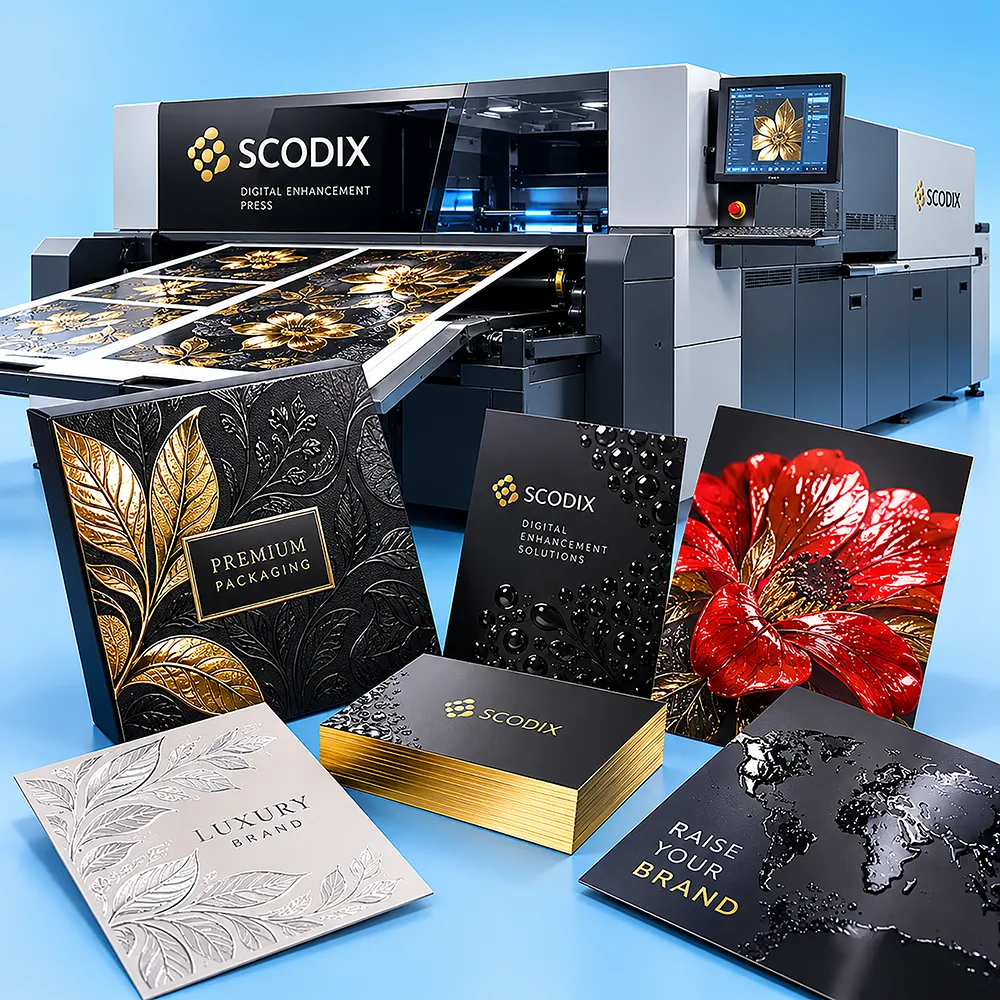
The foil treatment controls where metallic or specialty foil appears on the artwork.
Structure should be decided first so the foil artwork can be positioned around the real folds, scores and functional closure areas.
Use:
Finished Product → Tuck-End Requirement → Flap Orientation → Product Fit + Filled Weight → Board → Foil Artwork / Placement → Dieline → Structural + Foil Validation → Quote
For the broader folding-carton family, explore Custom Tuck Boxes.
What Is a Tuck End Foil Box?
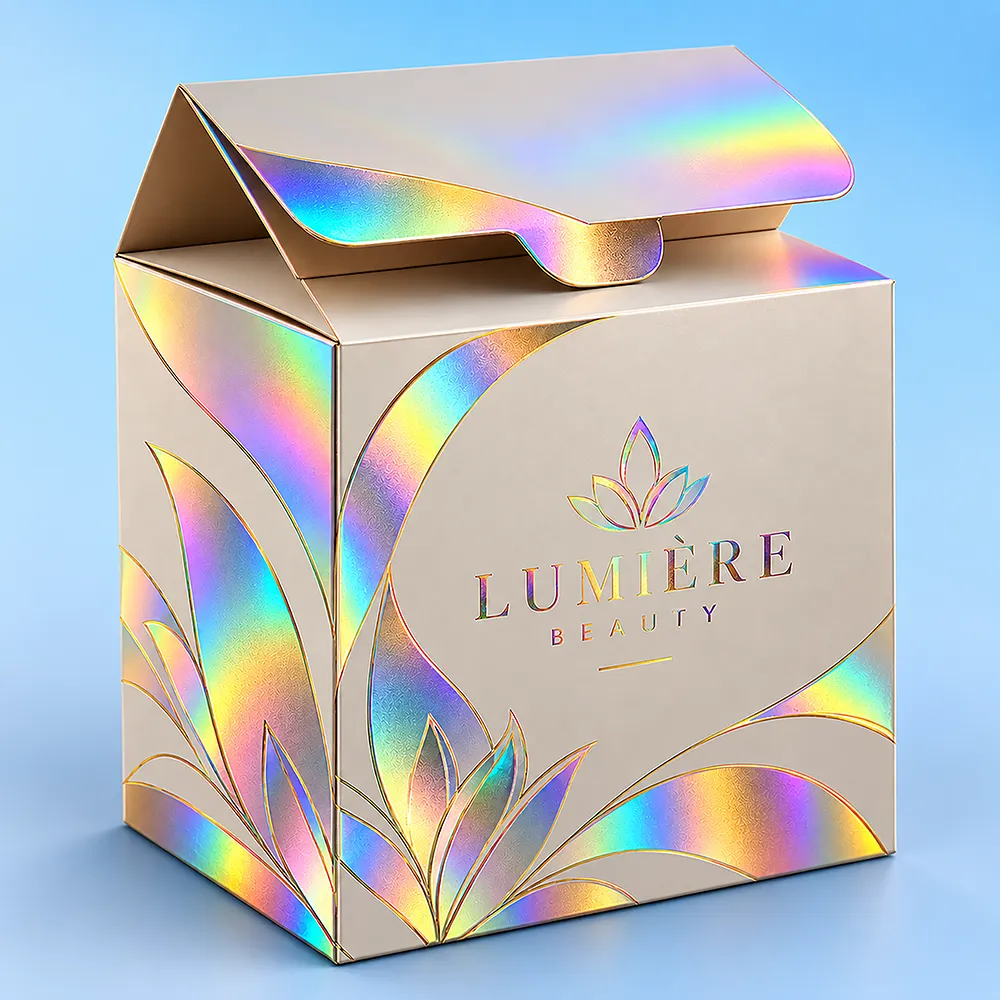
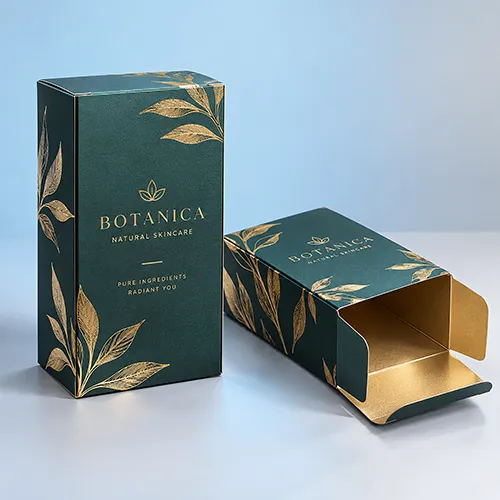
A Tuck End Foil Box is a folding carton that combines a Tuck End closure with foil applied to selected artwork areas.
The defining relationship is:
Tuck End Foil Box → Tuck-End Structure + Foil Enhancement
Foil can highlight selected branding or decorative areas, but:
Foil Finish ≠ Box Structure
The carton still needs an exact structural configuration before artwork is finalized.
What Does Tuck End Define?
Tuck End describes a folding-carton closure family using tuck-in flaps.
However:
Tuck End ≠ One Universal Flap Orientation
Two important configurations are:
Straight Tuck End → Primary Top and Bottom Tuck Flaps Close in the Same General Direction
and:
Reverse Tuck End → Primary Tuck Closures Use Opposing Orientation
The appropriate orientation depends on:
Product + Loading Direction + Opening Requirement + Panel Layout + Packing Workflow
For same-direction flap orientation, review Straight Tuck End Boxes.
Where opposing orientation better suits the carton, compare Reverse Tuck Boxes.
Neither orientation should be described as universally stronger, cheaper or better.
Tuck End Foil Boxes vs Silver Foil Boxes
These products solve different buyer requirements.
| Decision Factor |
Tuck End Foil Boxes |
Silver Foil Boxes |
| Primary ownership |
Tuck End structure + selective foil |
Broad silver metallic surface |
| Structure |
Tuck End is central |
Structure selected separately |
| Metallic coverage |
Usually artwork-specific |
Can cover broad panels or most of carton |
| Foil role |
Finishing / visual enhancement |
Material / broad surface treatment |
| Buyer starts with |
Tuck structure + foil accents |
Overall metallic appearance |
Choose Tuck End Foil Boxes when the carton needs a Tuck End structure and selected artwork requires foil.
For packaging where a broad silver metallic surface is the primary requirement, explore Silver Foil Boxes.
How Does Foil Stamping Work?
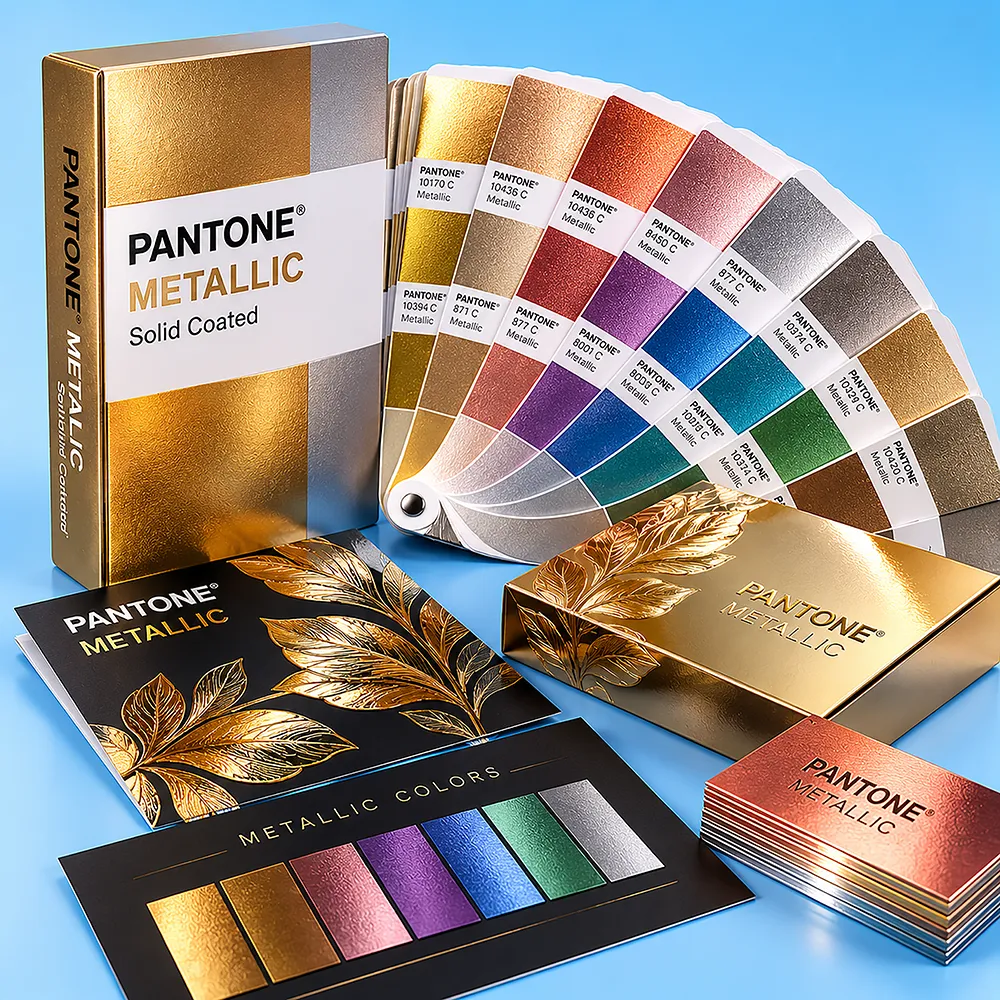
Foil stamping applies a foil layer to selected artwork areas.
In a conventional hot-foil process, the general relationship is:
Foil Artwork → Die → Heat + Pressure → Foil Transfer → Board Surface
Other approved foil-transfer methods may also be used depending on the project.
This means foil should be treated as a separate production layer rather than simply another ink color.
Typical foil areas include:
-
logos;
-
product names;
-
selected typography;
-
borders;
-
icons;
-
patterns;
-
and decorative details.
The selected process, foil and substrate should be confirmed before production.
Foil Stamping vs Metallic Ink
Foil stamping and metallic ink are different production methods.
Foil Stamping → Transfers a Foil Layer
Metallic Ink → Prints Metallic Pigments
They should not be treated as interchangeable.
The correct choice depends on:
Desired Reflectivity + Artwork Detail + Substrate + Coverage → Production Method
Foil may provide a different reflective character from metallic ink, but the exact appearance depends on the chosen foil and board.
Selective Foil vs Full Metallic Cardstock
Tuck End Foil Boxes should primarily own selective foil enhancement.
Examples include:
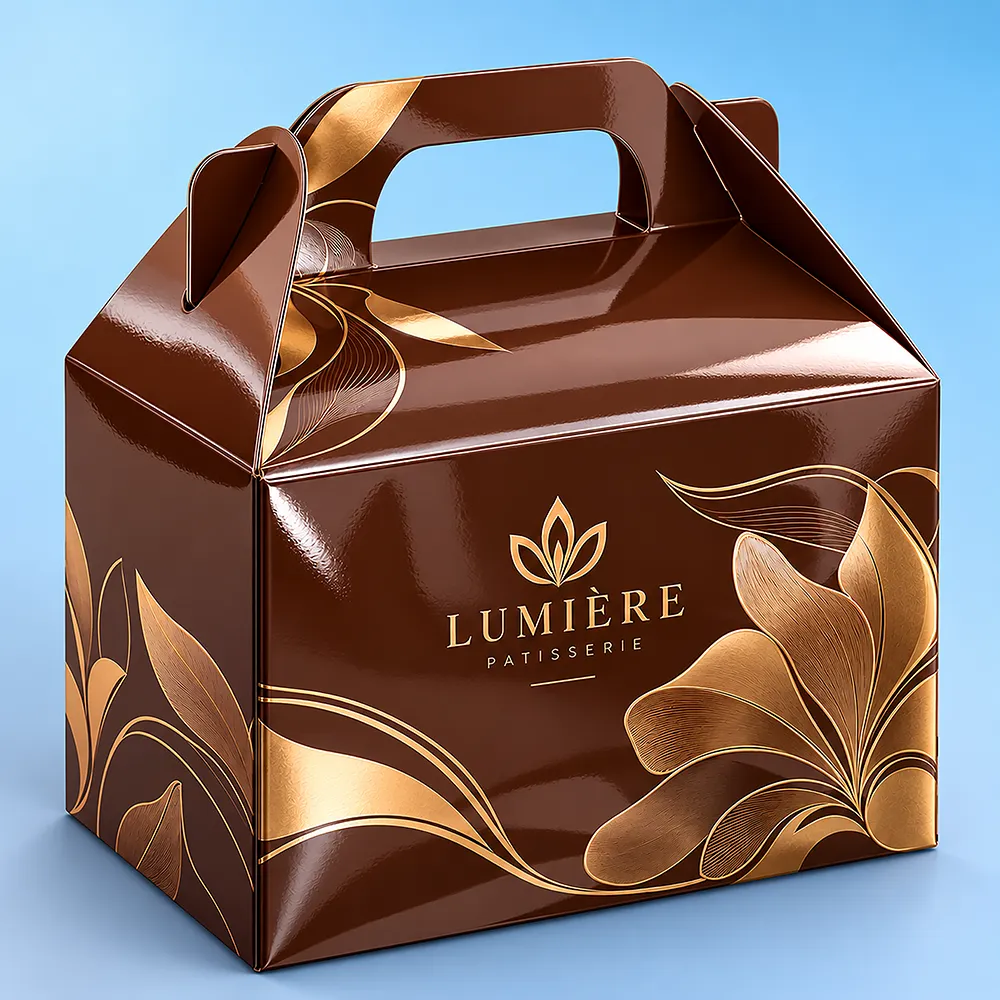
Printed Carton + Foil Logo
Printed Carton + Foil Product Name
Matte Carton + Foil Border
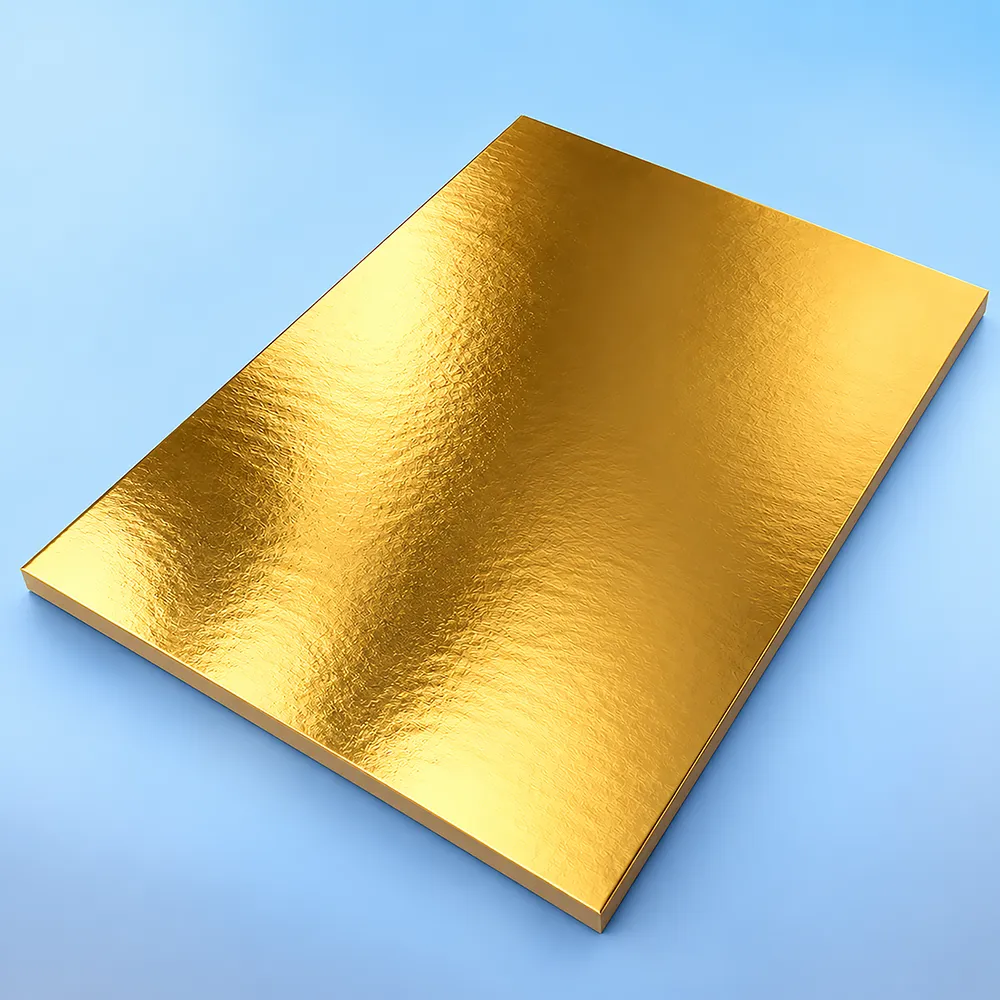
This differs from packaging built around a broadly metallic cardstock surface.
Use:
Selected Metallic Detail → Foil Enhancement
versus:
Broad Metallic Surface → Metallic Cardstock
Keeping this distinction clear prevents overlap with Silver Foil Boxes.
Which Tuck Orientation Should You Choose?
The foil design should not determine the structural orientation.
Structure comes first.
Use:
Product → Loading / Opening Requirement → Tuck Orientation → Dieline → Artwork → Foil Placement
Choose Straight Tuck where same-direction flap orientation suits the product and panel layout.
Choose Reverse Tuck where opposing orientation is more appropriate.
Once that structural decision is approved, the foil artwork can be positioned accurately on the production dieline.
How to Size Tuck End Foil Boxes
Measure the product in its finished, sale-ready condition.
Provide its maximum:
length × width/depth × height
including any:
-
cap;
-
lid;
-
pump;
-
shoulder;
-
handle;
-
or other projection.
Also provide:
Do not assume:
Product Dimensions = Finished Carton Dimensions
The final carton must also account for:
-
internal clearance;
-
board thickness;
-
folds and scores;
-
tuck engagement;
-
and any insert.
Use:
Finished Product → Internal Fit → Tuck Structure → Board → Complete Dieline
Board Selection and Tuck Fit
Board should be selected around the product and Tuck structure before foil production is finalized.
Use:
Product + Dimensions + Filled Weight + Tuck Geometry + Foil Requirement → Board Selection
Board caliper can influence:
Use:
Board Caliper → Score Geometry → Tuck Fit
Do not assume:
Higher GSM = Automatically Better
and do not treat:
GSM = Caliper
The selected production board should be used when finalizing the structural file.
How Board Surface Affects Foil Transfer
The board surface can affect foil appearance and transfer quality.
Relevant factors can include:
The useful relationship is:
Board Surface + Foil System + Production Settings → Foil Transfer Result
A smooth coated board can behave differently from a textured or uncoated Kraft stock.
That is why the actual board should be selected before final foil approval.
Materials for Tuck End Foil Boxes
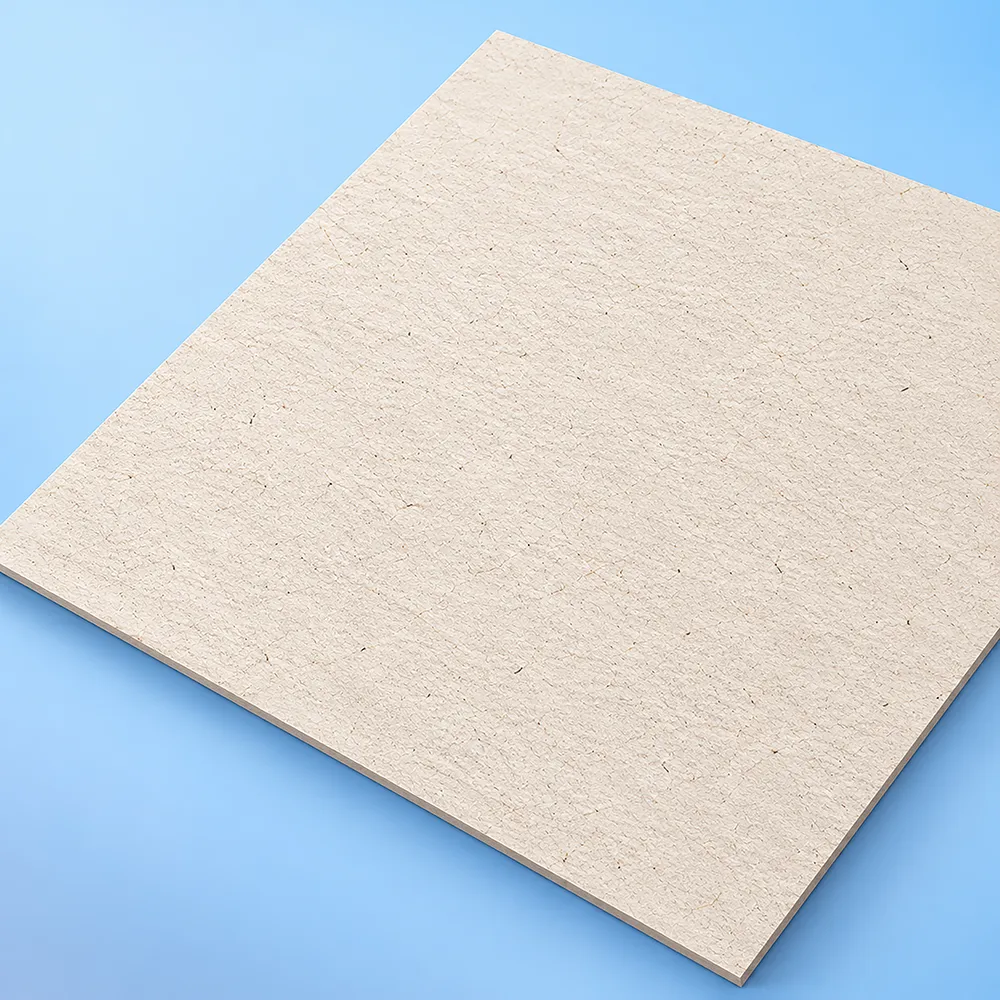
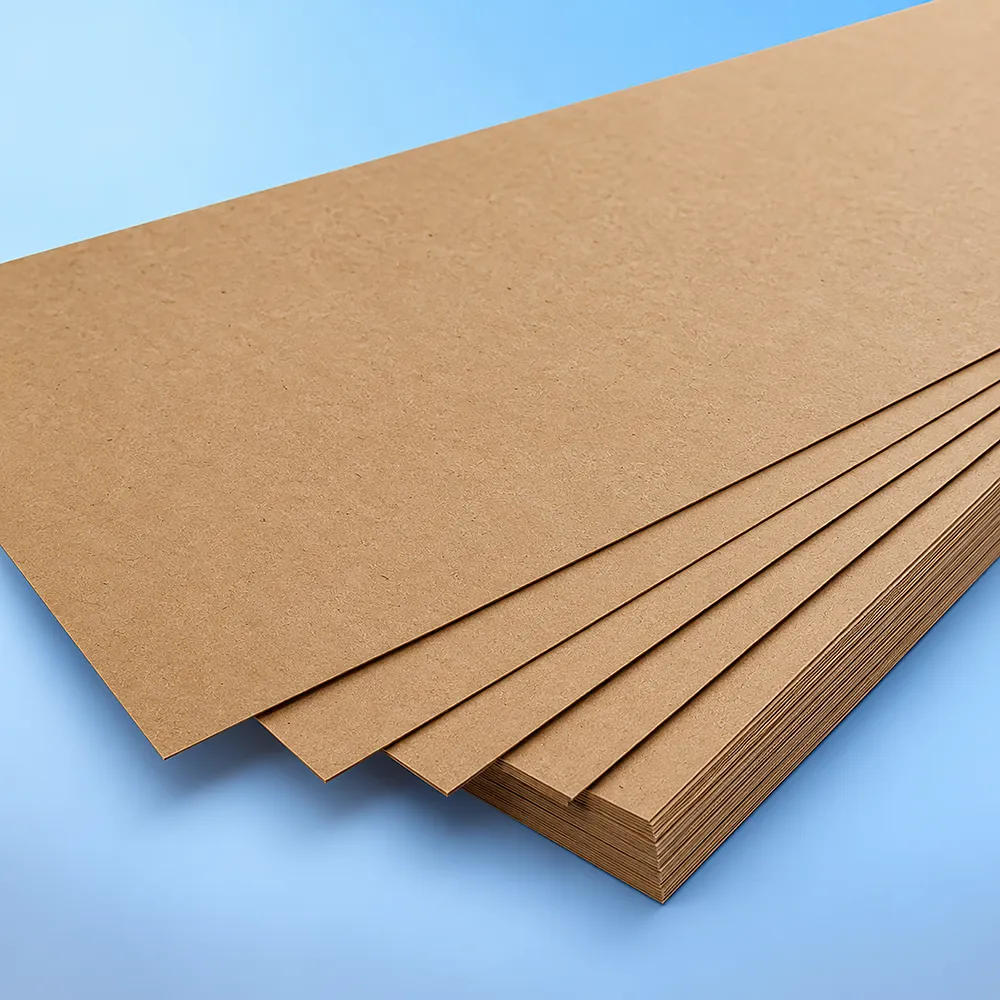
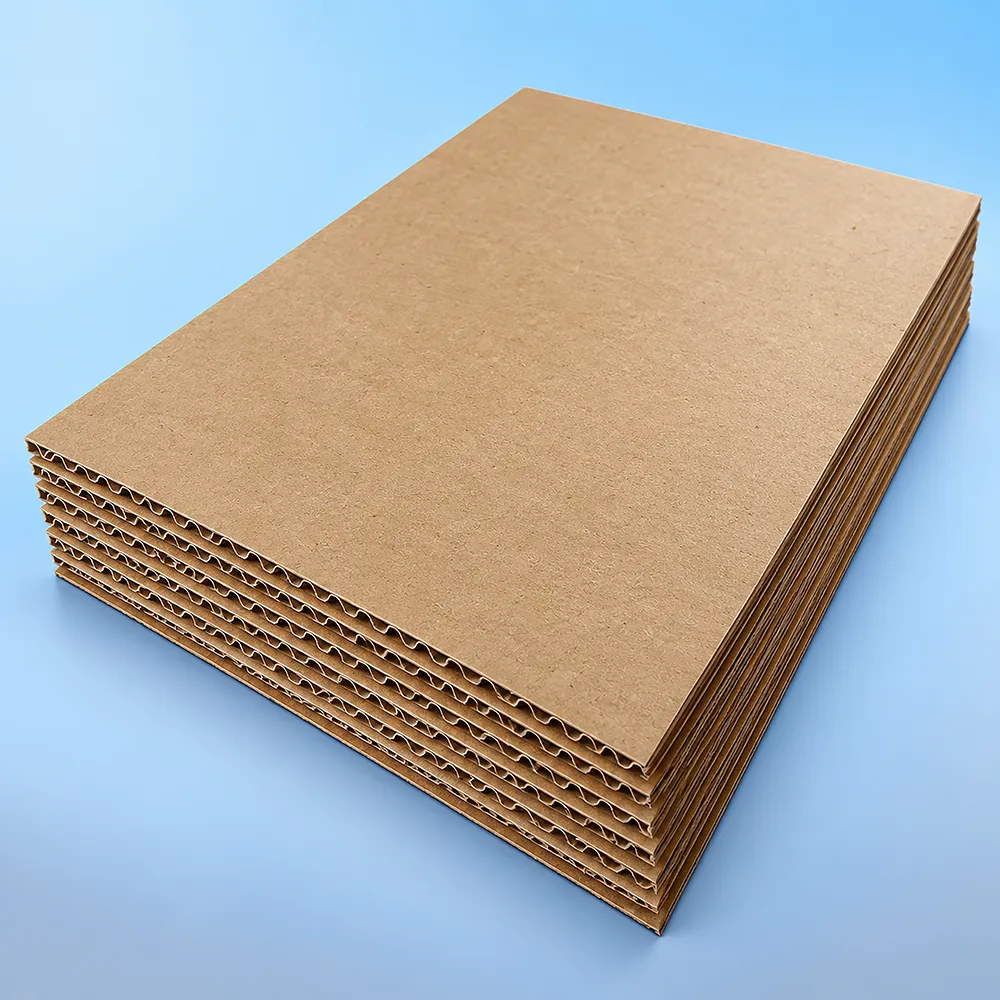
Possible project-specific materials include white folding paperboard, coated cardstock, Kraft paperboard and other compatible substrates.
Material selection should follow:
Product + Structure + Printing + Foil Requirement
Different boards create different relationships between print, foil, folding and surface appearance.
For Tuck packaging where Kraft is the primary material requirement rather than foil, explore Kraft Tuck Boxes.
Foil Placement on Tuck End Cartons
Foil placement must follow the structural dieline.
A flattened artwork file should not be treated as if every area will remain flat after assembly.
Review foil placement against:
-
score lines;
-
folds;
-
tuck edges;
-
glue tabs;
-
slots;
-
cut lines;
-
window openings;
-
and panel transitions.
Use:
Dieline → Functional Areas → Foil Artwork Placement
Important foil details should not cross critical folding or closure areas without production review.
Can Foil Be Added to Tuck Flaps?
Potentially, yes.
However, placement should be reviewed against:
Foil Area + Fold Line + Tuck Engagement
Foil positioned too close to a heavily worked fold or closure edge can behave differently from foil on a stable flat panel.
The artwork should therefore be evaluated in both its flat and erected positions.
Foil on Front and Side Panels
The front panel may carry the main foil logo, product name or visual feature.
Side panels can carry secondary foil details where appropriate.
The decision should follow:
Artwork Hierarchy → Panel Position → Foil Placement
rather than distributing foil merely because several printable panels are available.
This keeps the metallic treatment purposeful and helps avoid unnecessary production complexity.
Tuck End Foil Boxes With Embossing
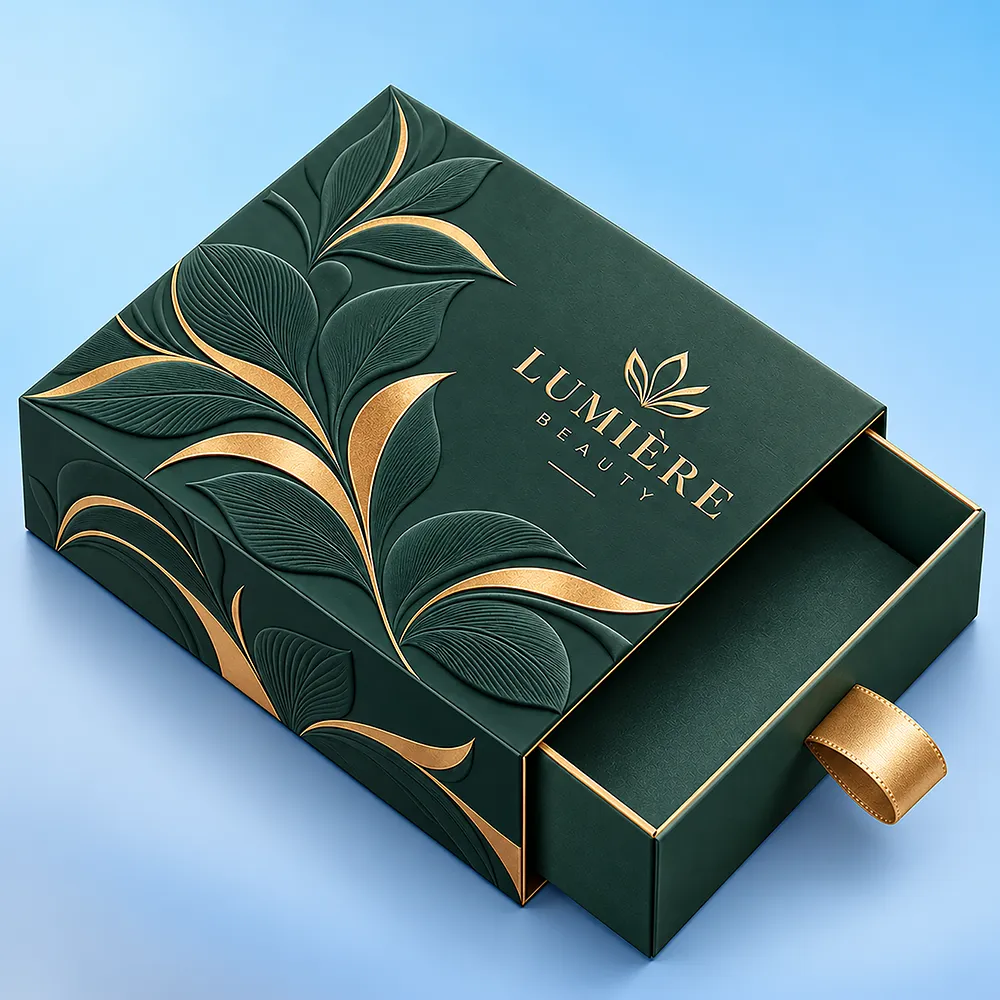
Foil and embossing may be combined where compatible with the selected material, artwork and production method.
Foil creates the surface effect.
Embossing creates raised relief.
Use:
Foil Artwork + Emboss Geometry → Registered Dimensional Effect
Registration and structural panel position need to be considered carefully.
Deep embossing should not cross critical scores, folds or tuck areas without production review.
Tuck End Foil Boxes With Debossing
Debossing creates an indented artwork area.
It can also be paired with foil where appropriate.
The relationship should be:
Artwork → Foil Position → Deboss Position → Structural Panel
Do not add debossing simply because foil is present.
It should serve a defined visual or tactile purpose.
Inserts for Tuck End Foil Packaging
Foil and inserts solve different packaging requirements.
Foil → Controls Exterior Artwork
Insert → Controls Product Position
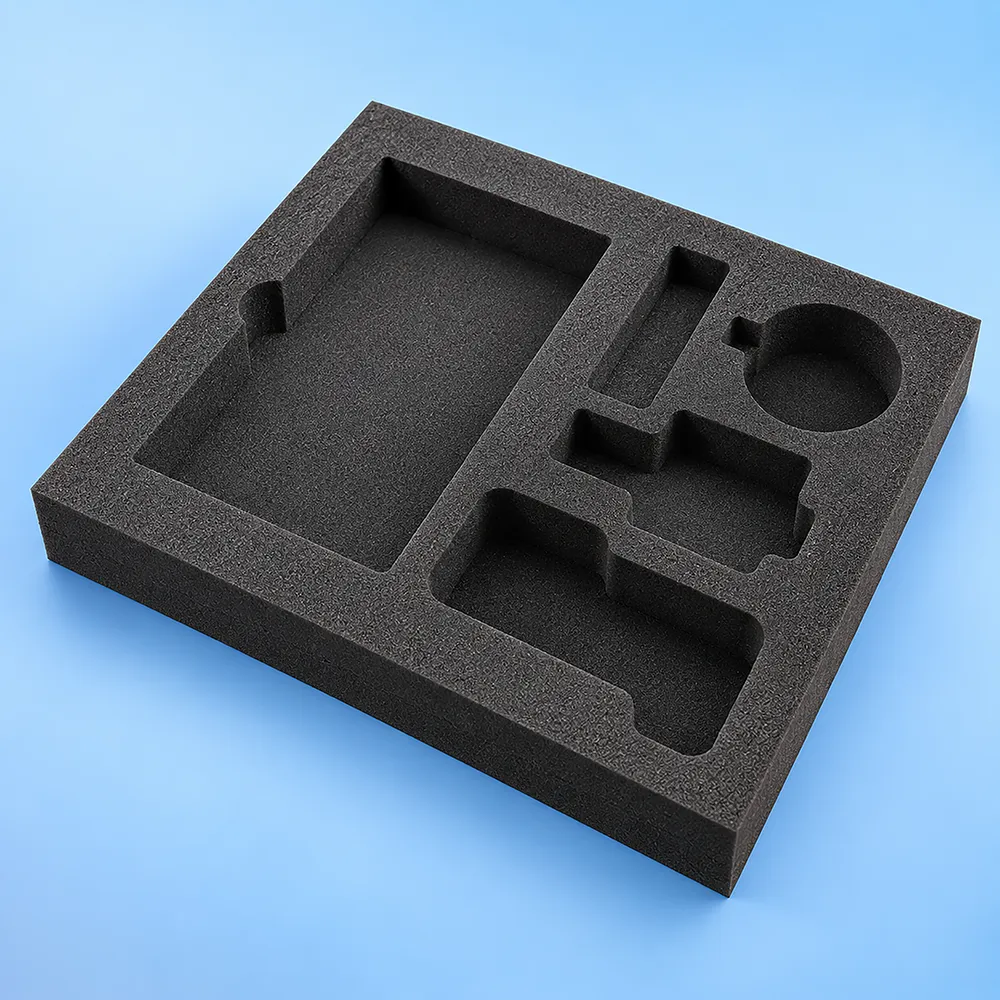
An insert may help with:
Because an insert occupies usable internal space, develop the carton as:
Product → Insert → Required Internal Space → Tuck End Foil Box
For projects where internal positioning is important, explore Printed Boxes With Inserts.
Tuck End Foil Boxes With Windows
A die-cut viewing opening can be incorporated where sufficient panel area remains.
Plan the window as:
Product Position → Visible Feature → Window Geometry → Remaining Artwork Area
Foil placement should be coordinated around:
-
window cut edges;
-
tuck flaps;
-
scores;
-
glue zones;
-
structural folds;
-
and insert position.
For broader product-visibility packaging, explore Boxes With Window.
Printing Options for Tuck End Foil Boxes
Printing and foil should be planned as separate but coordinated production elements.
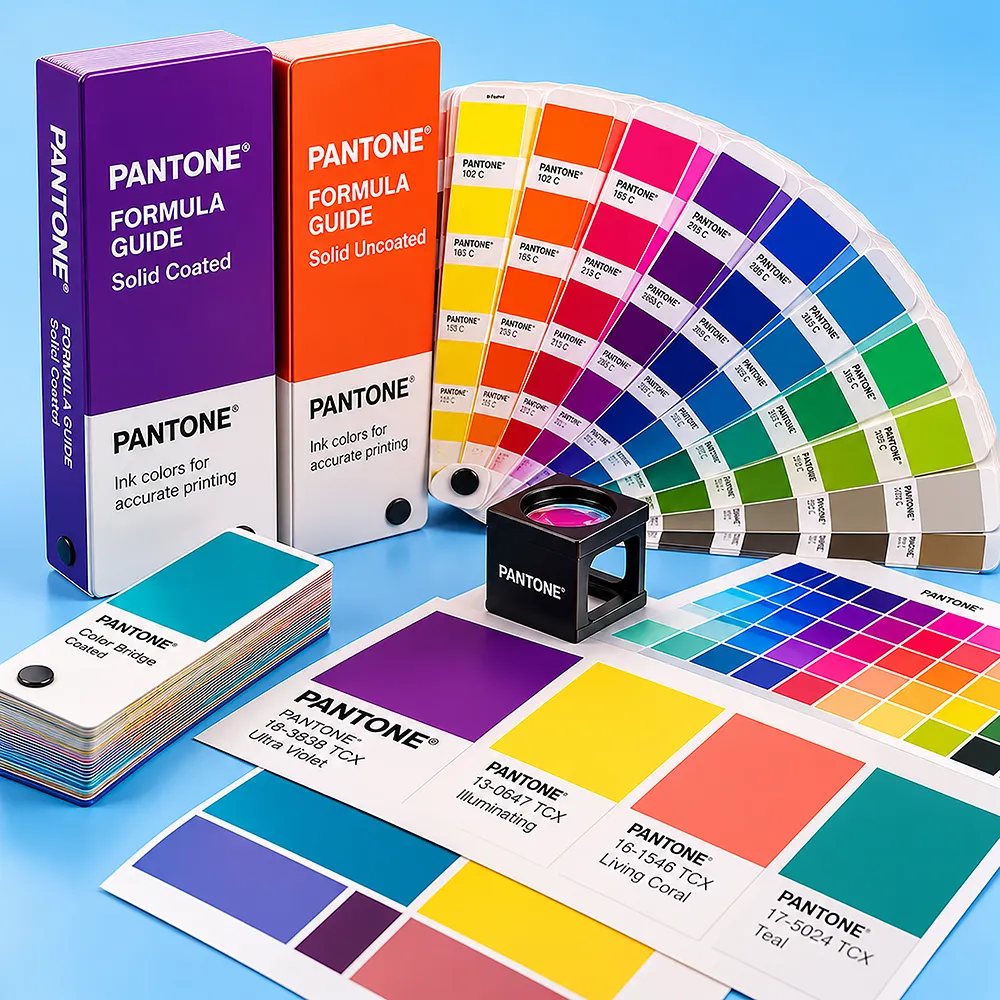
Depending on the production setup, printing can include digital or offset methods with CMYK process color and Pantone/PMS references where applicable.
Keep the terminology separate:
Digital / Offset = Printing Methods
CMYK / Pantone = Color Systems / References
Artwork can include logos, typography, product information, barcode areas, QR codes and other approved graphics.
Inside printing can also be considered where the selected board and structure support it.
Finishing Options for Tuck End Foil Boxes
Foil is one finishing treatment, not the complete finishing specification.
Depending on the selected board and artwork, compatible additional options can include:
-
matte lamination;
-
gloss lamination;
-
soft-touch treatment;
-
embossing;
-
debossing;
-
Spot UV.
These effects should be coordinated rather than selected independently.
Use:
Structure → Base Finish → Foil Artwork → Additional Finish Placement
For example, a matte base surface can create a different visual contrast with foil than a gloss surface.
Avoid Overloading the Same Artwork Area With Finishes
More finishing effects do not automatically create better packaging.
If foil, Spot UV, embossing and other effects all compete for the same small artwork area, the design can become visually crowded or technically inefficient.
Use:
Primary Visual Feature → Supporting Finish → Production Compatibility
The finishing hierarchy should support the artwork rather than demonstrate every available production option.
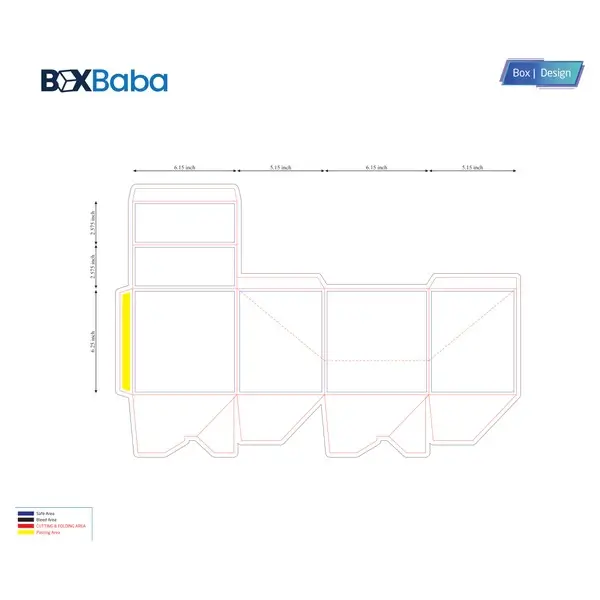
Tuck End Foil Box Dielines
The dieline controls both the Tuck structure and where the foil artwork sits on the flat blank.
Depending on the selected configuration, it can define:
-
front and back panels;
-
side panels;
-
tuck flaps;
-
dust flaps;
-
glue tab;
-
bottom relationship;
-
folds and scores;
-
insert position;
-
window geometry;
-
printed artwork;
-
and foil artwork areas.
Use:
Product → Tuck Orientation → Board → Dieline → Printed Artwork + Foil Layer
Changing from Straight Tuck to Reverse Tuck changes the panel and flap relationship.
That can also change the position and orientation of foil artwork on the flat production file.
For broader structural-file fundamentals, review BoxBaba Packaging Dieline Guide.
How to Prepare Artwork for Foil Areas
The foil artwork should be clearly identified separately from standard printed artwork.
The production file should show exactly which graphics receive foil.
Relevant relationships include:
Foil Artwork → Defined Production Area
Dieline → Fold / Cut Relationship
Printed Artwork → Registration With Foil
Fine lines, small details and tight registration requirements should be reviewed against the selected foil process before production.
Do not assume every extremely fine printed element will translate identically into foil.
What Should Be Validated Before Production?
Different approval methods answer different questions.
A digital proof or 3D mockup can help review:
layout + panel orientation + foil position + text + window location + overall artwork relationship
However, a screen cannot fully reproduce:
A representative sample becomes more useful where these physical factors matter.
Use:
Digital Proof → Artwork Position
and:
Physical Finish / Structural Question → Representative Sample
Can Foil Crack, Break or Distort Near a Fold?
Foil positioned close to a heavily stressed fold or score can behave differently from foil on a stable panel area.
The final result depends on:
Board + Foil + Position + Crease Geometry + Production Method
Therefore:
Foil Position + Fold Stress → Production Review
This is another reason the foil layer should only be finalized after the structural dieline is approved.
Are Tuck End Foil Boxes Recyclable?
Do not make a universal recyclability claim based only on the carton being paperboard.
The completed package may include:
-
paperboard;
-
foil;
-
printing;
-
coatings;
-
laminations;
-
window material;
-
adhesive;
-
and other finishes.
Use:
Environmental Claim → Complete Finished-Package Specification
rather than:
Paperboard + Foil = Automatically Recyclable
Are Tuck End Foil Boxes Shipping Boxes?
Not automatically.
A standard paperboard Tuck End Foil carton is generally retail or secondary packaging.
Foil does not change its distribution role.
Use:
Tuck End Carton + Foil Finish ≠ Parcel-Shipping Qualification
Where the product needs outer protection for ecommerce or courier distribution, consider an appropriate Mailer Boxes.
What to Send for a Tuck End Foil Box Quote
| Quote Input |
Why It Matters |
| Finished product dimensions |
Defines internal fit |
| Filled product weight |
Supports board and structural review |
| Product orientation |
Influences loading and tuck relationship |
| Tuck orientation |
Defines Straight, Reverse or another approved configuration |
| Board preference |
Affects printing, foil and structural behavior |
| Foil artwork / coverage |
Defines finishing scope |
| Foil color / effect |
Defines the required foil treatment |
| Printed artwork |
Establishes print-to-foil relationship |
| Emboss / deboss requirement |
Affects tooling and panel planning |
| Insert requirement |
Changes usable internal dimensions |
| Window requirement |
Changes panel geometry |
| Inside printing |
Expands artwork scope |
| Additional finishes |
Affects production specification |
| Order quantity |
Supports production planning |
| Artwork status |
Determines dieline / artwork support |
| Delivery destination |
Supports shipping planning |
If you want foil-enhanced Tuck End packaging but have not selected Straight or Reverse orientation, provide the product dimensions, filled weight, loading direction and artwork first.
Custom Tuck End Foil Boxes Wholesale From BoxBaba
BoxBaba develops Tuck End Foil Boxes around the actual packed product, selected Tuck orientation, board and foil artwork.
Custom packaging projects can start from 100 units.
Artwork and dieline support are available, along with digital proof or 3D mockup review. Ask about physical sample options where foil appearance, registration, tuck engagement, product fit or foil-and-emboss interaction should be checked before bulk production.
Standard processing is typically 5–9 business days after final artwork approval, depending on the selected board, structure, printing, foil and additional finishing requirements.
Free shipping is available across the USA.
Request Custom Tuck End Foil Boxes
A Tuck End Foil carton should be developed from the packed product, Tuck orientation and foil requirement outward.
Use:
Finished Product → Tuck-End Requirement → Flap Orientation → Product Fit + Filled Weight → Board → Foil Artwork / Placement → Dieline → Structural + Foil Validation → Production
Share your product dimensions, filled weight, required quantity, preferred Tuck orientation, foil color or effect, artwork status and any insert, window, inside-printing, embossing or additional finishing requirements.
If you are comparing localized foil enhancement with broad metallic cardstock, finalize that surface-treatment decision before approving the artwork and production dieline.
Place your order by calling +1 305 574 4357 or emailing sales@boxbaba.com.